
Something I’ve wanted to try for the last couple of years or more is the making of spagyric tinctures, out of sheer fascination with the processes involved and a strong desire to compare the usual tincture with the effects of a fully fledged spagyric tincture, so finally this year I have planned it in and got it done!

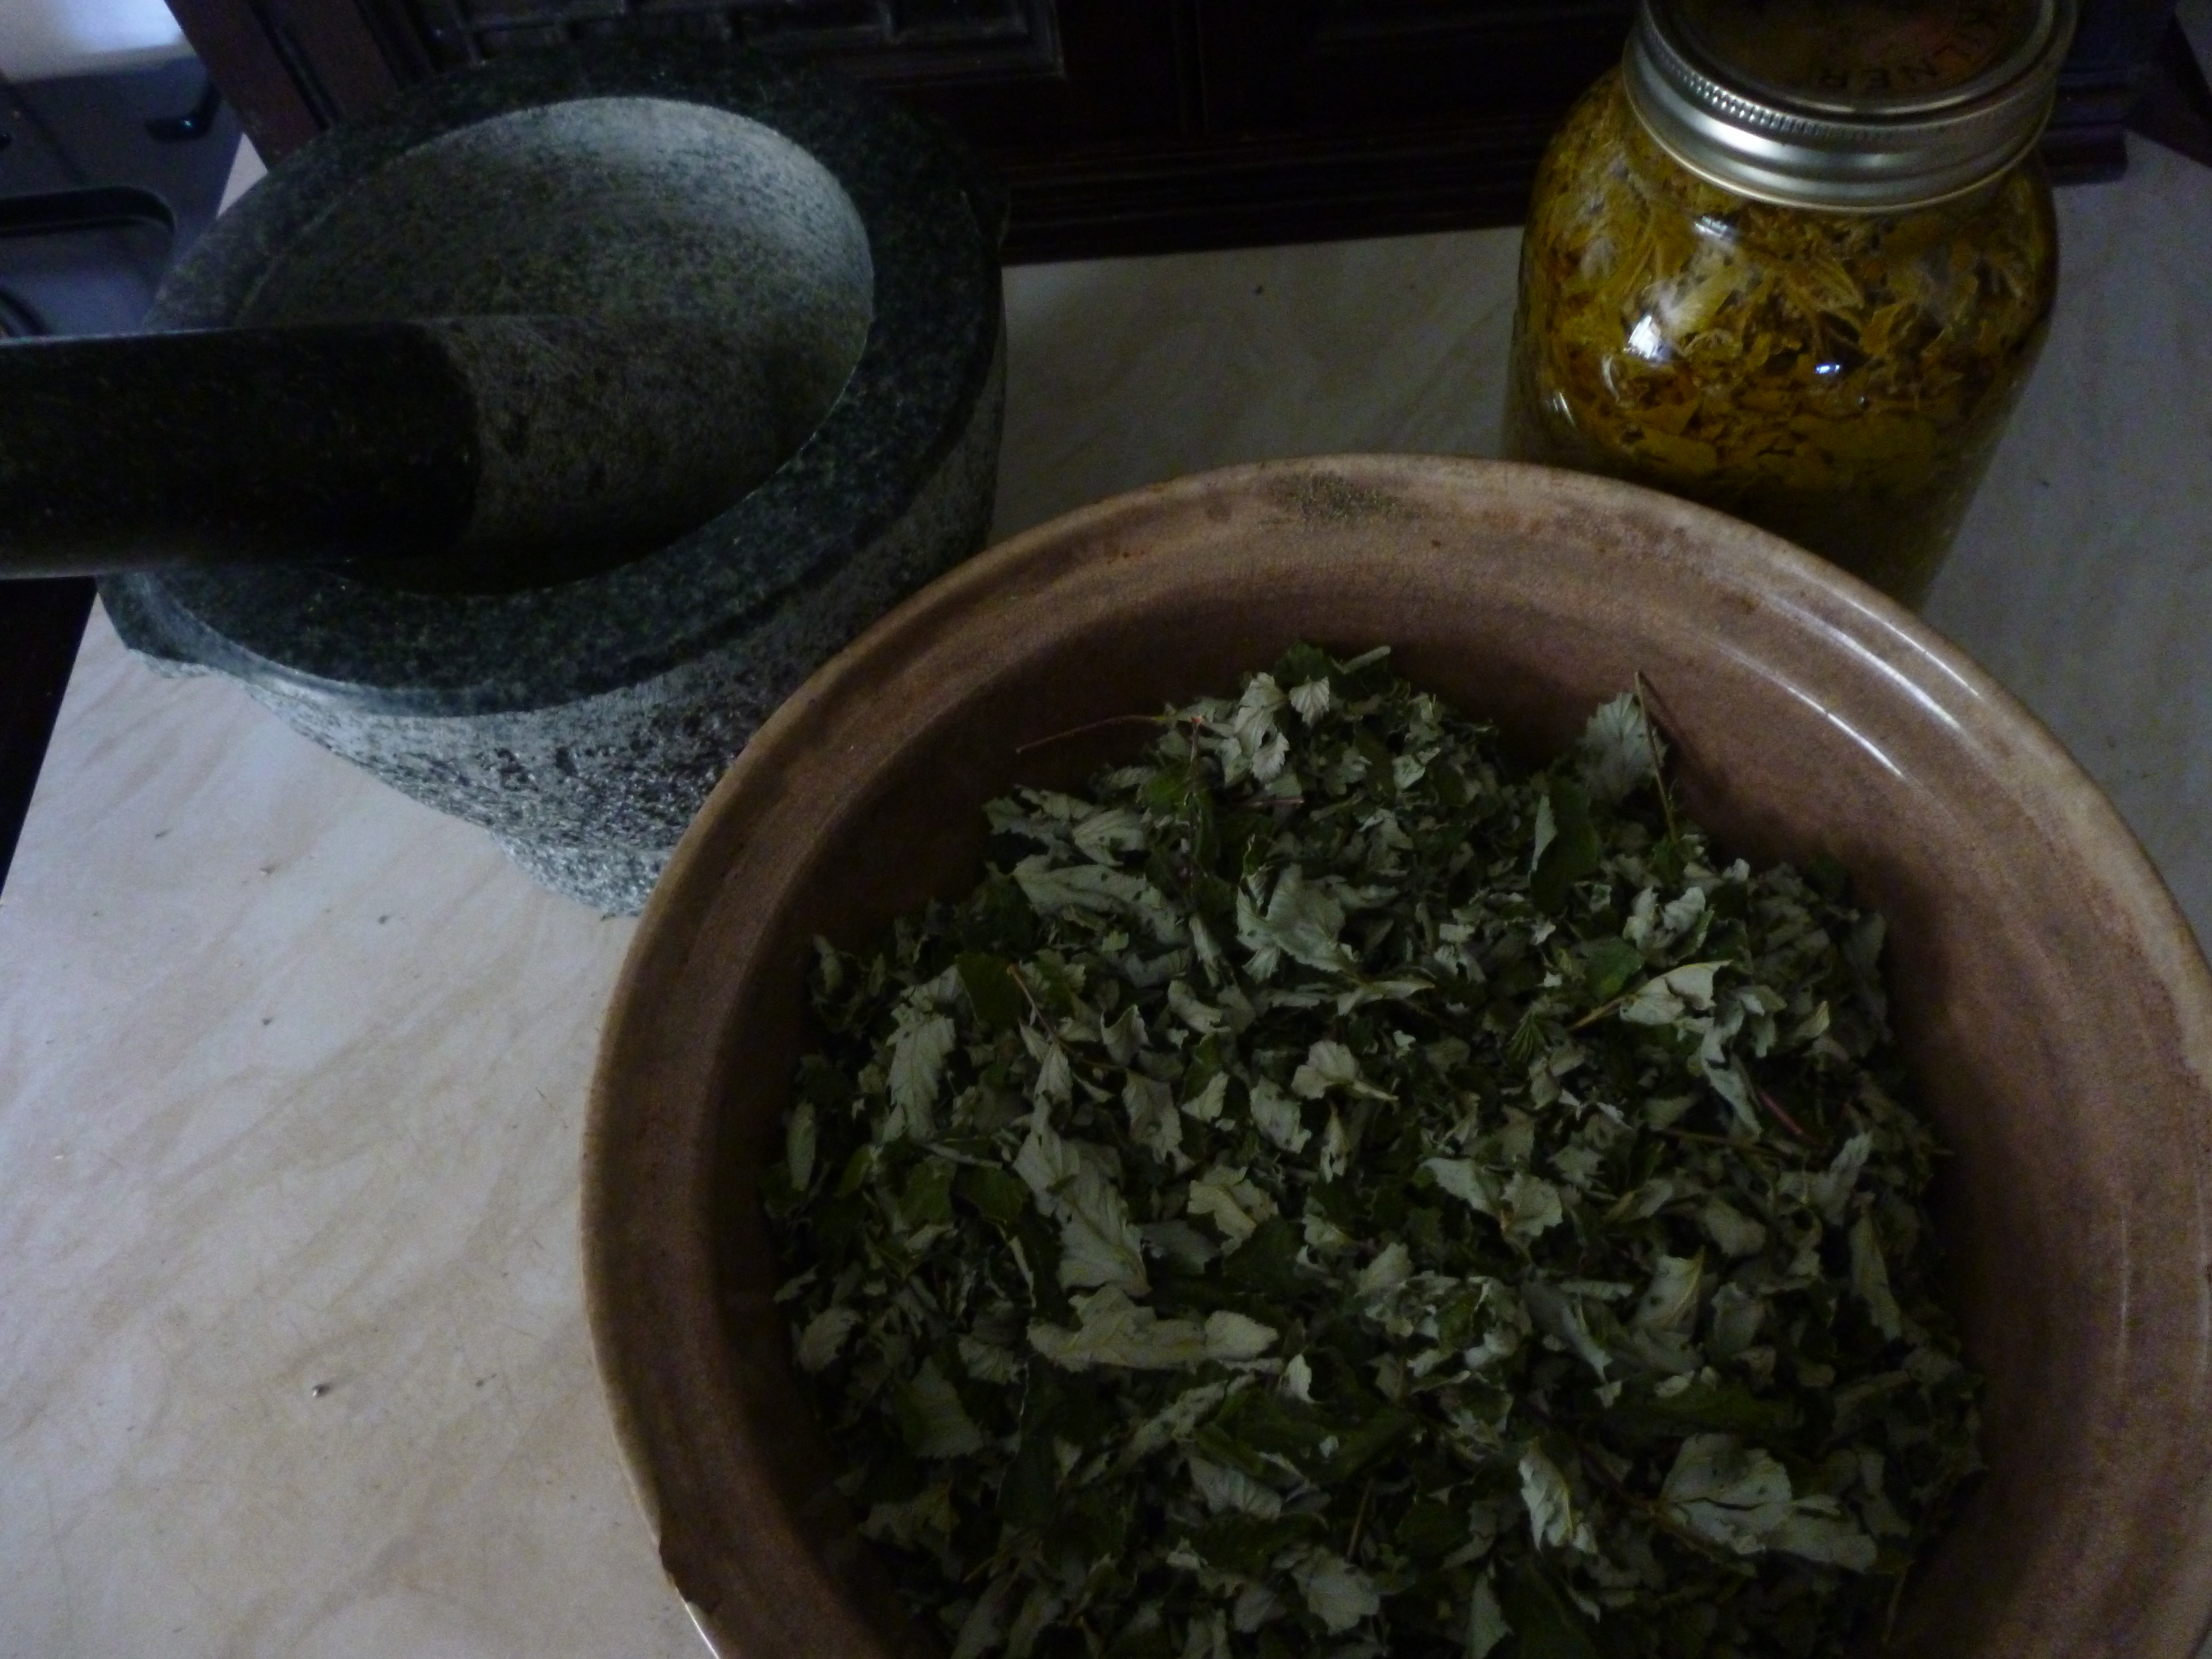
The book I used for reference for this particular endeavour was Alchemical Medicine for the 21st Century by Clare Goodrick-Clarke (which I highly recommend as its a fascinating read in its own right even if you don’t want to have a go at the processes yourself). So, following as best I could the advice from the book, I trotted dutifully out to collect my Meadowsweet flowers and leaves with a long suffering Viking in tow helping me to carry the huge bunches of it back to the car. I daresay I got a fair few amused and odd looks from the odd passing driver, but such things have never bothered me before and they ceased to do so this time either! The difficulty I found with picking the right day to gather the herbs is that Jupiter tends to rule Meadowsweet, so by rights it should be gathered on Wednesday (which is long linked to the head honchos of various pantheons such as Zeus, Odin, Woden, Jupiter etc) however for me, this didn’t feel quite right as that was not the kind of energy I wanted to convey in this essence. I settled on Friday (linked to Freya and Frigga, more feminine energies) as I was hoping to pull the ‘Queen of the Meadow’ energies out of the plant, and besides it was raining on Wednesday and one does have to endeavour a small amount of practicality at times! A good call in the end as it turns out they have now chopped all the Meadowsweet back so if I had not gathered it when I did, I would have missed out. The bunches of herbs were hung up to dry, half of them anyway. The other half I sat in the back door stripping leaves and flowers from the stem and piling them into a huge crockpot – if the neighbours don’t think I am completely insane already, then I am sure they do now!
Much chopping of herbs ensued, and the resulting finely diced mush was packed into a kilner jar with a mix of grain alcohol and filtered water, then put to one side to steep for a couple of weeks, shaking it up every day.
Two weeks later, the herbs were filtered and pressed thoroughly, and the spent marque (the alcohol and water steeped herbal mess) was piled into a crockpot with the rest of the dried herbs which I tried to grind up in my larger granite rough surfaced mortar and pestle. Unfortunately Meadowsweet is rather stringy, and this was not 100% dry to boot, so instead of grinding it, I ended up chasing it around with the pestle for a while! So out came the trusty food processor, to reduce the semi dried leaves down to a smaller state.
The spent marque was piled on top and the whole lot was taken outside, to a small table and camping stove all set up and waiting for me. I used an old crockpot for this first stage, which was actually a mistake as it cracked from the sheer temperature it was having to cope with, necessitating a switch to a stainless steel casserole dish.
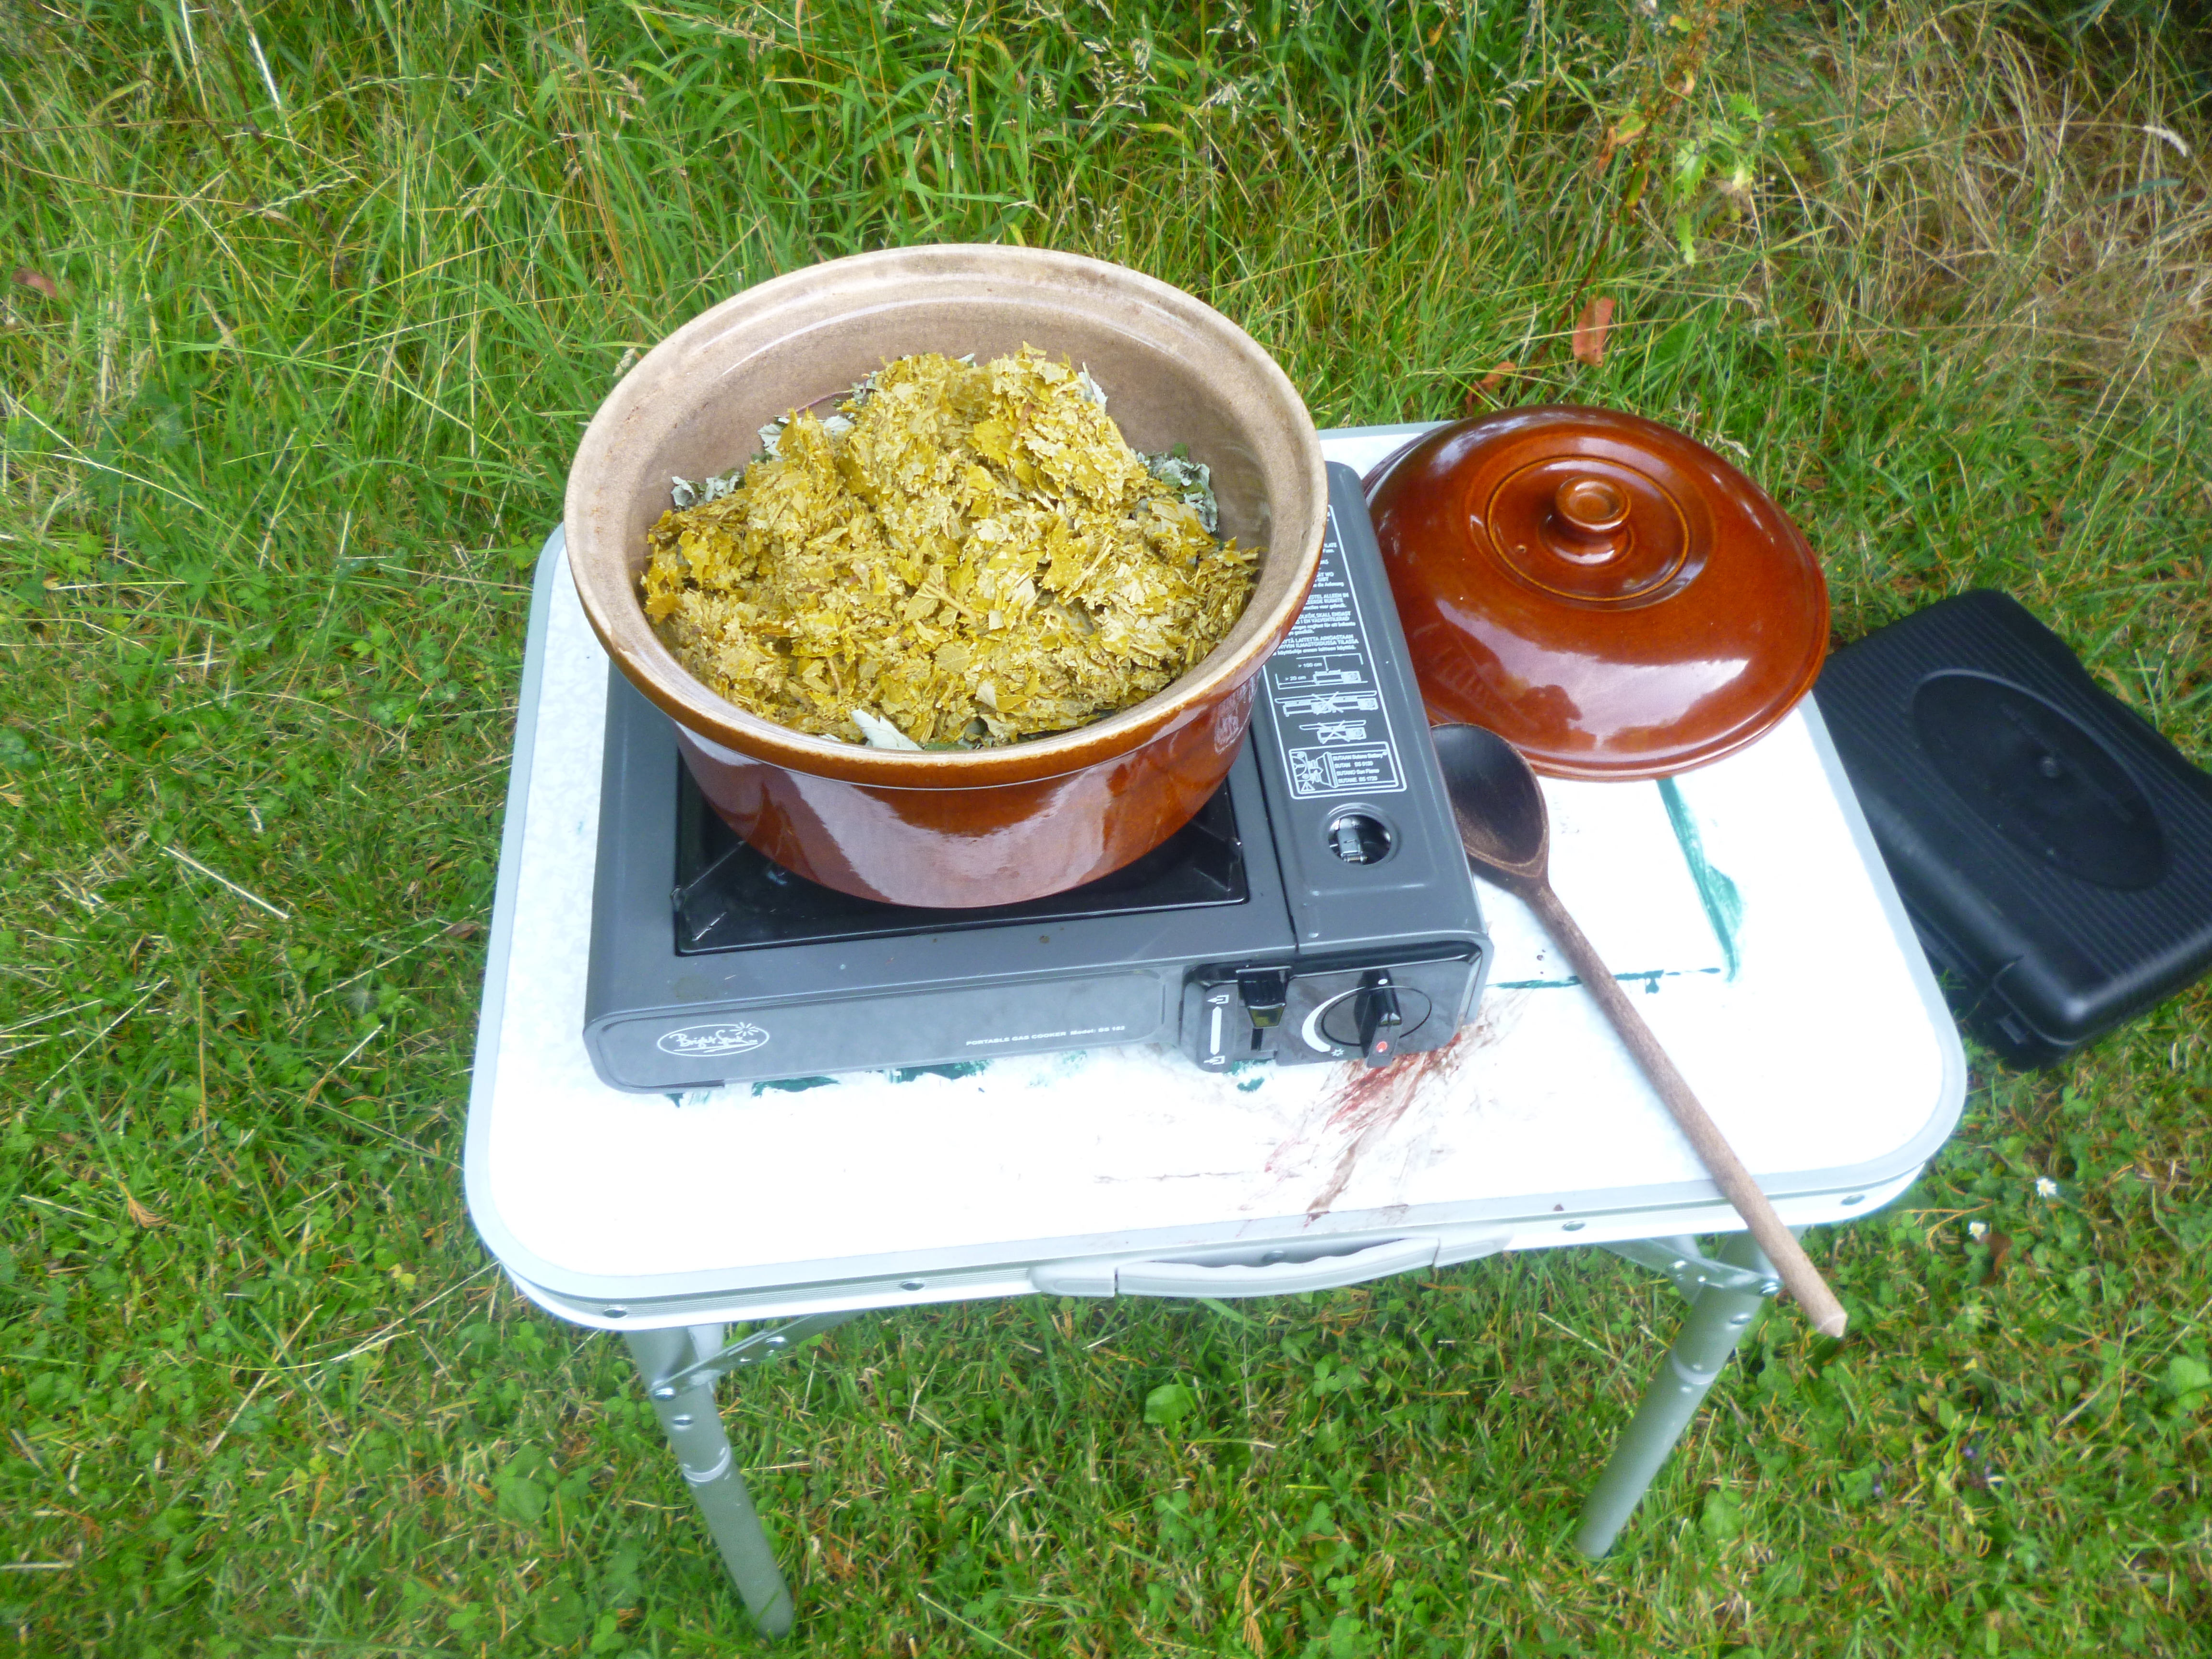
It took about ten minutes for it to really start smoking and blackening, and my goodness the acrid smoke it kicked out! Definitely one to keep out of if possible, but fortunately this stage doesn’t last long, and once it has reached the nigredo stage, the smoke stops and you can take it inside and do the rest on your hob. In fact, I strongly recommend this – the stainless steel pot got so hot that it started to warm up the gas hob itself and had to be turned off rather abruptly and the gas canister removed!
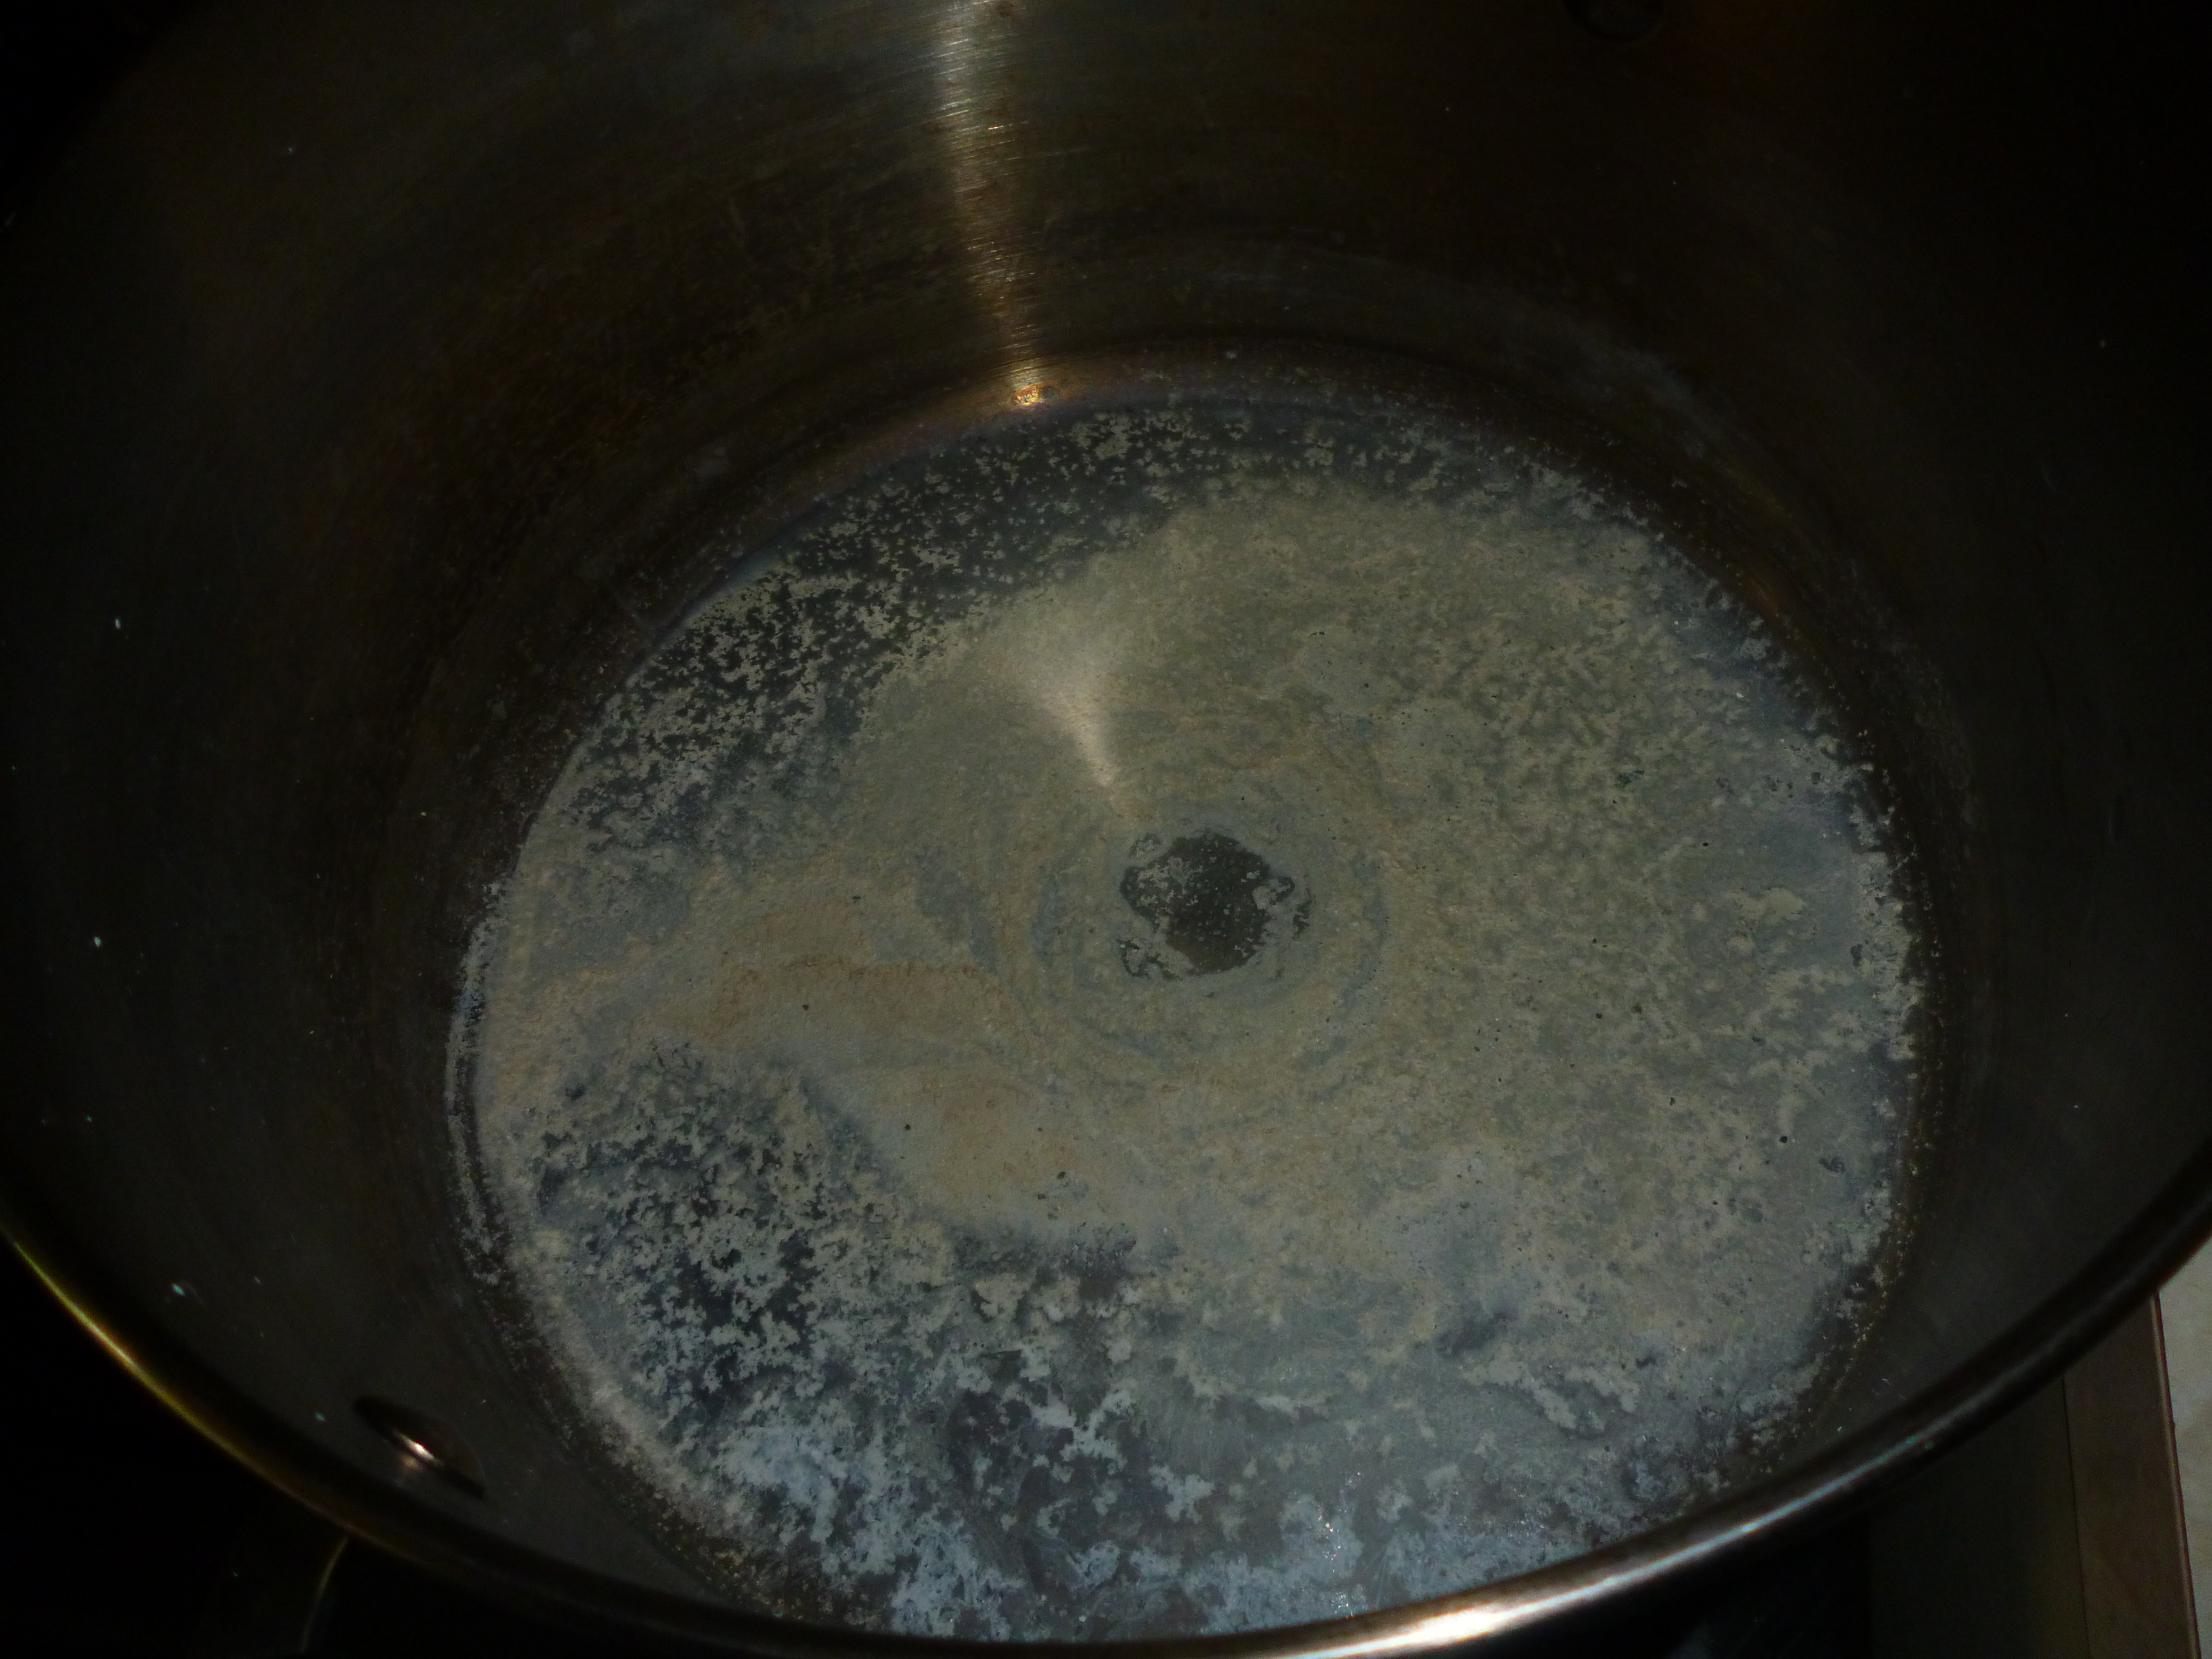
The above picture was taken a few minutes before the pot stopped smoking, when most of the plant material had turned black. I found the best way to get this to happen was to stir it up then gently pack it down, and leave it for a couple of minutes, then repeat. This made sure it all burned off at about the same rate. It took about an hour to an hour and a half to finish, though I think it would have been quicker if I had just started with the stainless steel pot! Oh – and don’t use a wooden spoon for this. I’ve had to retire the one I used for this to be only suitable for dyeing and more spagyric tincture making as it now stinks of smoke which just doesn’t wash off. Daft of me to think to use it in the first place, really!
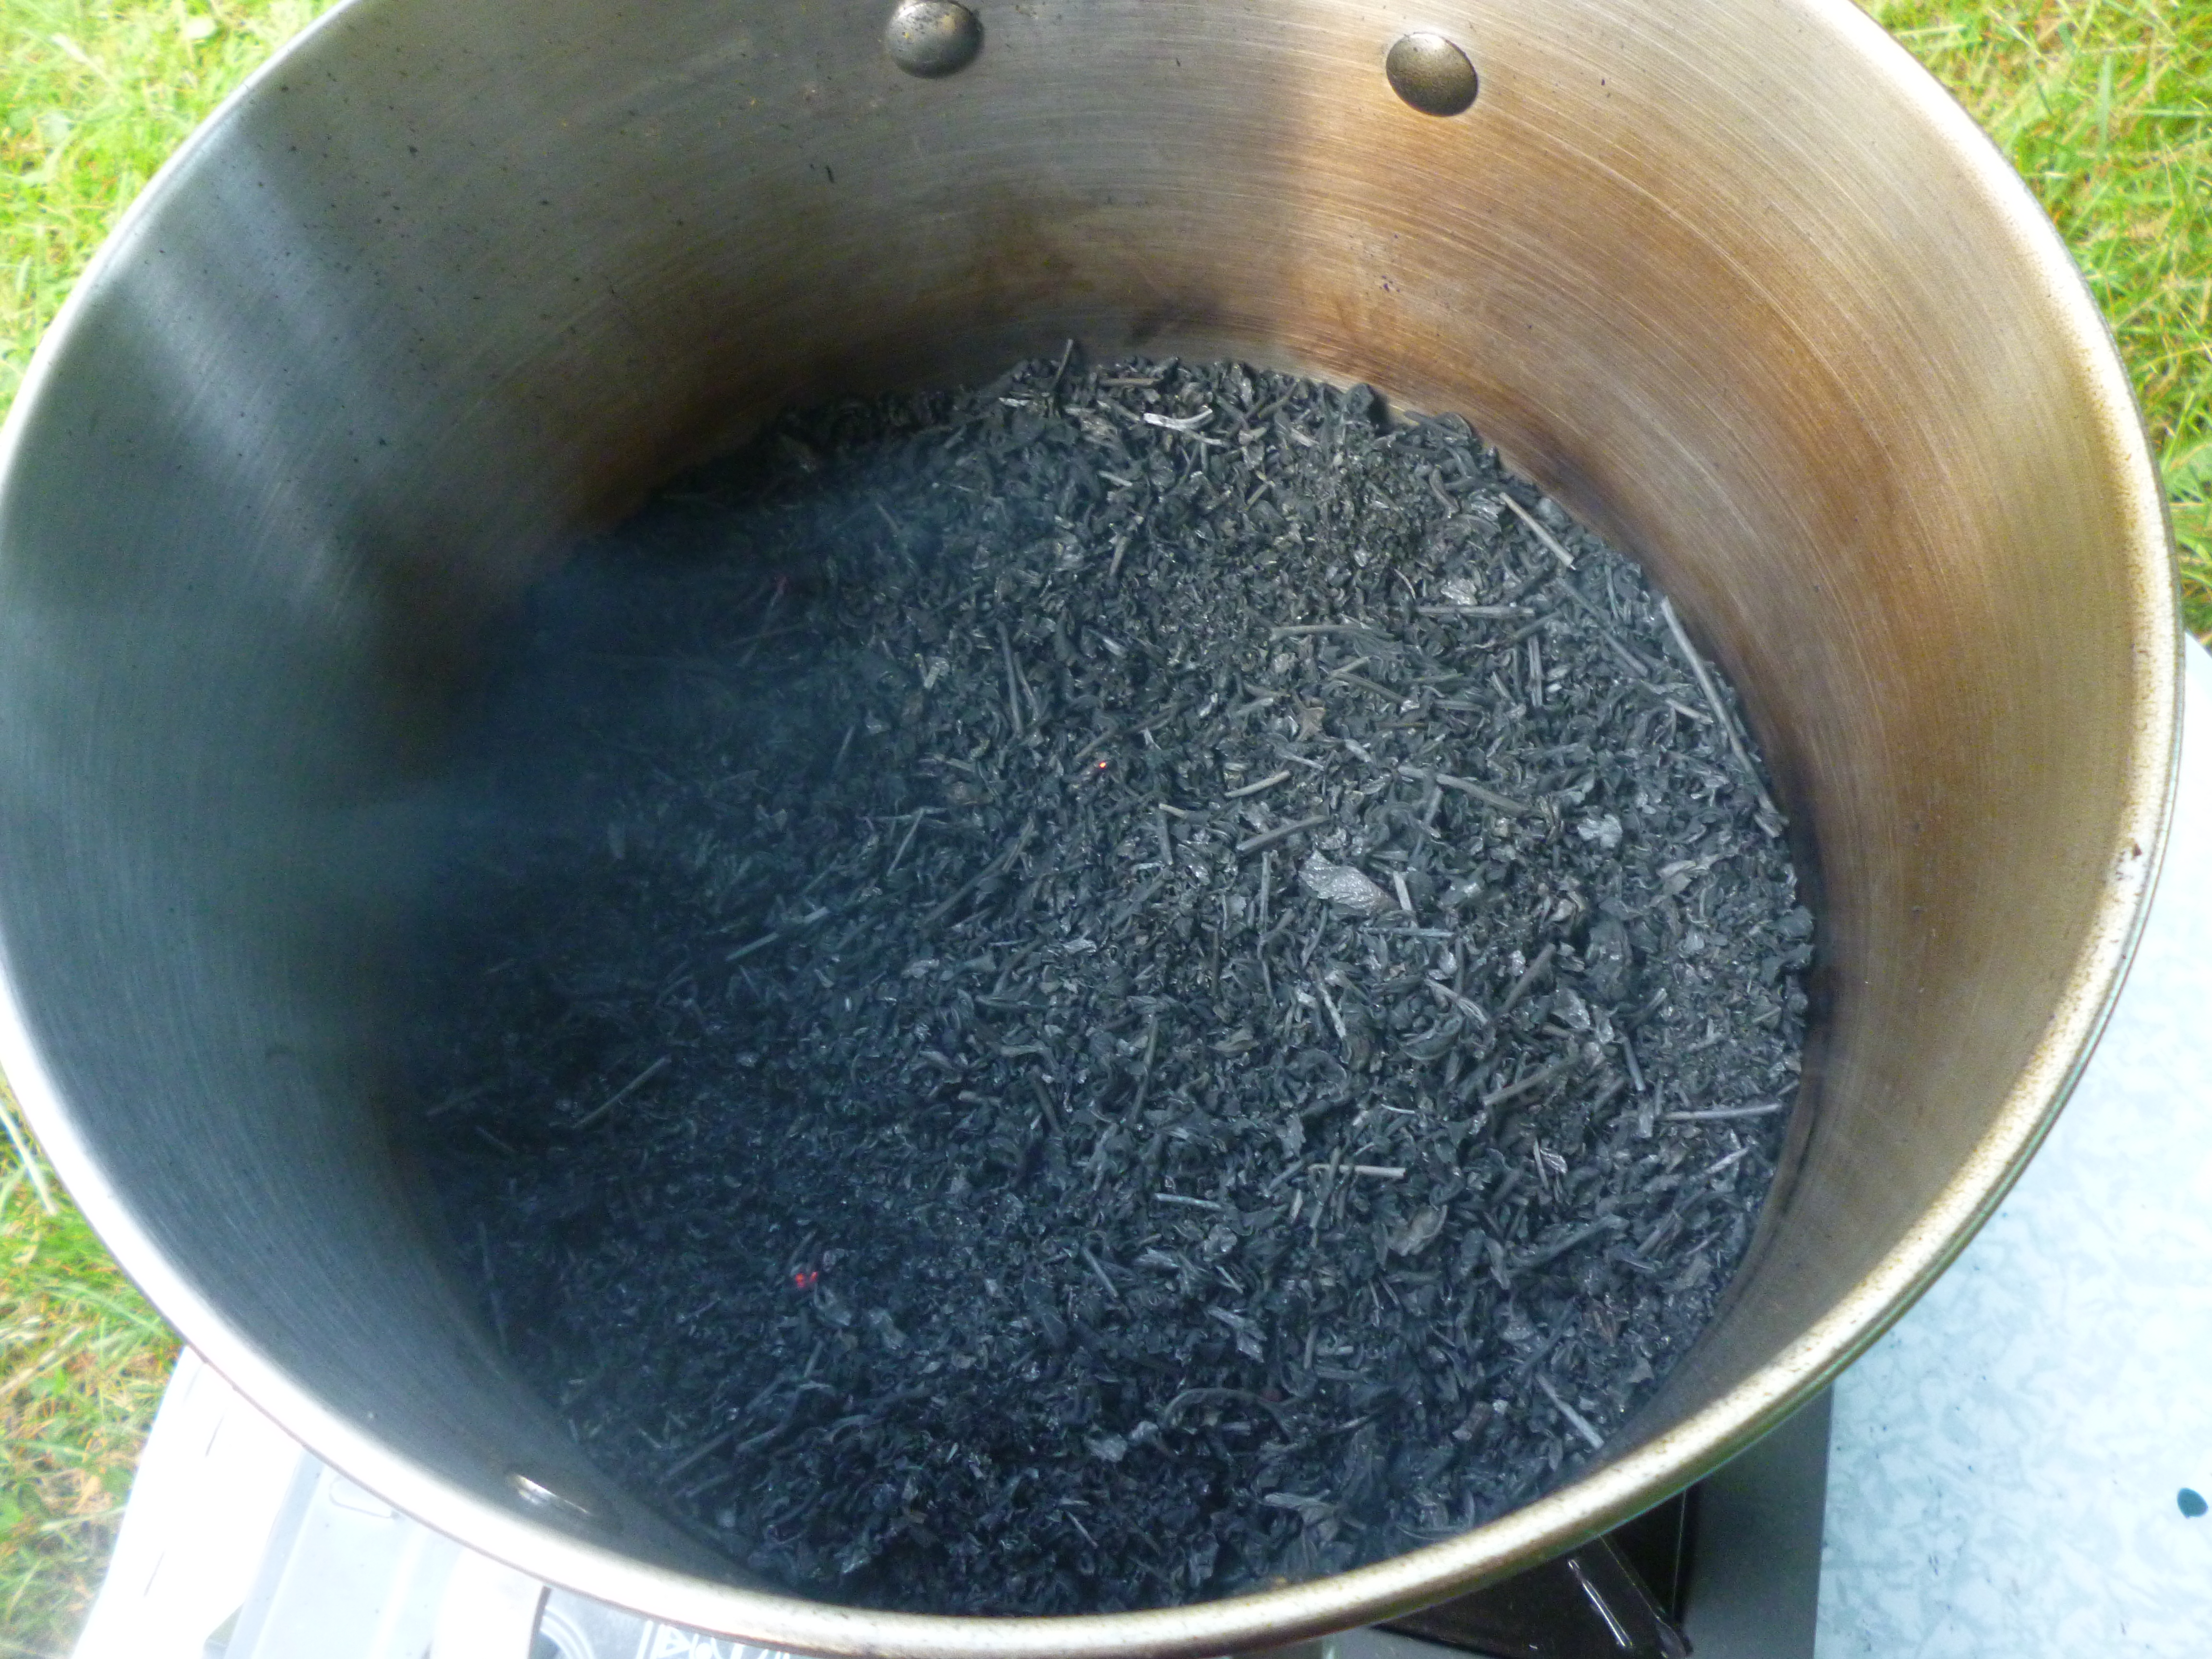
When the herb mixture stops smoking, take it indoors (using thick gloves – that pot will be HOT) and finish off on the hob, on the hottest setting. Keep stirring the plant matter occasionally and eventually it will reduce down to a fine pale grey ash – you’ll notice little embers that will form and track their way through the black plant matter, leaving pale grey ash in their wake. Rather entertaining to watch, actually! This stage takes another hour or so, perhaps a bit more.

Let the whole lot cool – including the pot, which will sing a sweet song of croaks and groans as it cools – and add two pints of distilled or rain water. That’s what the book called for, but I ended up using filtered tap water this time, as this was a tentative first run. Bring the ash and liquid up to a gentle simmer for 20 minutes or so, then allow to cool. I filtered this lot through three layers of kitchen towel and a sieve to remove the worst of the caput mortuum, or death’s head.
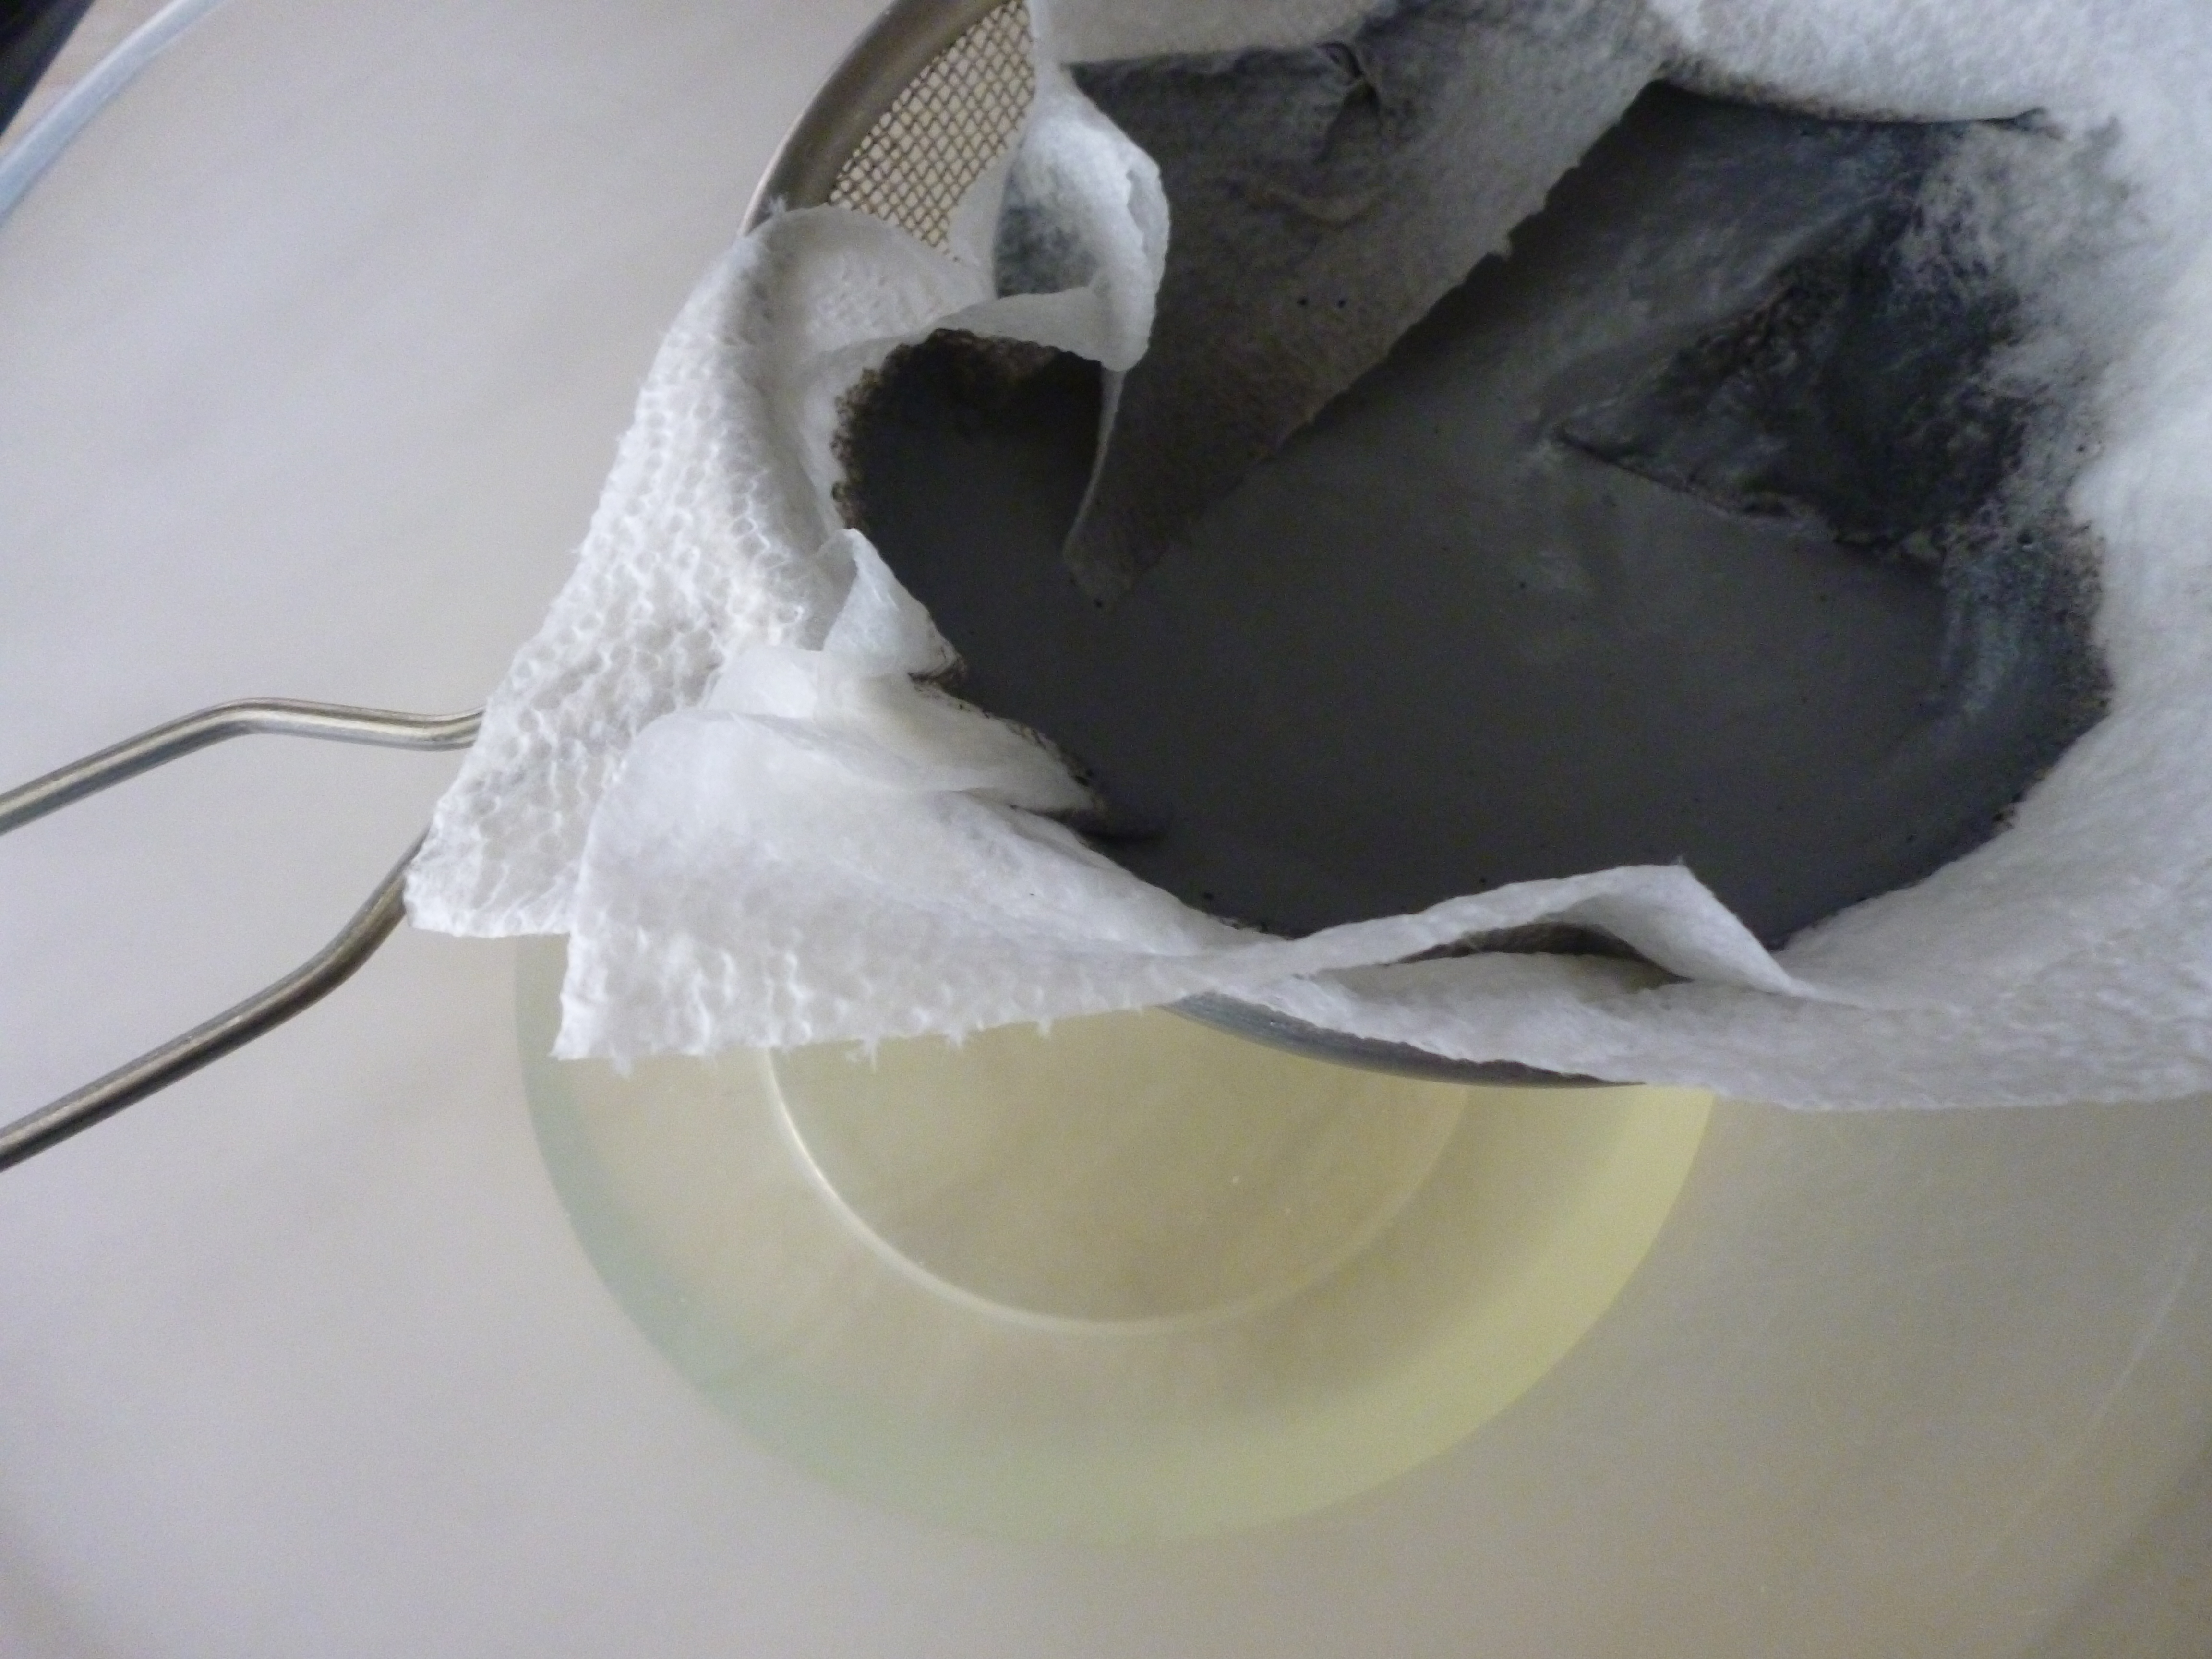
The resulting liquid has a faintly greeny silver tinge to it. Put it back in the scrubbed clean and dry pot, and put it back on the hob on a medium heat until steam starts to come off it. It needs to be left on this heat to slowly evaporate off the water until salt crystals are left in the bottom of the pan.
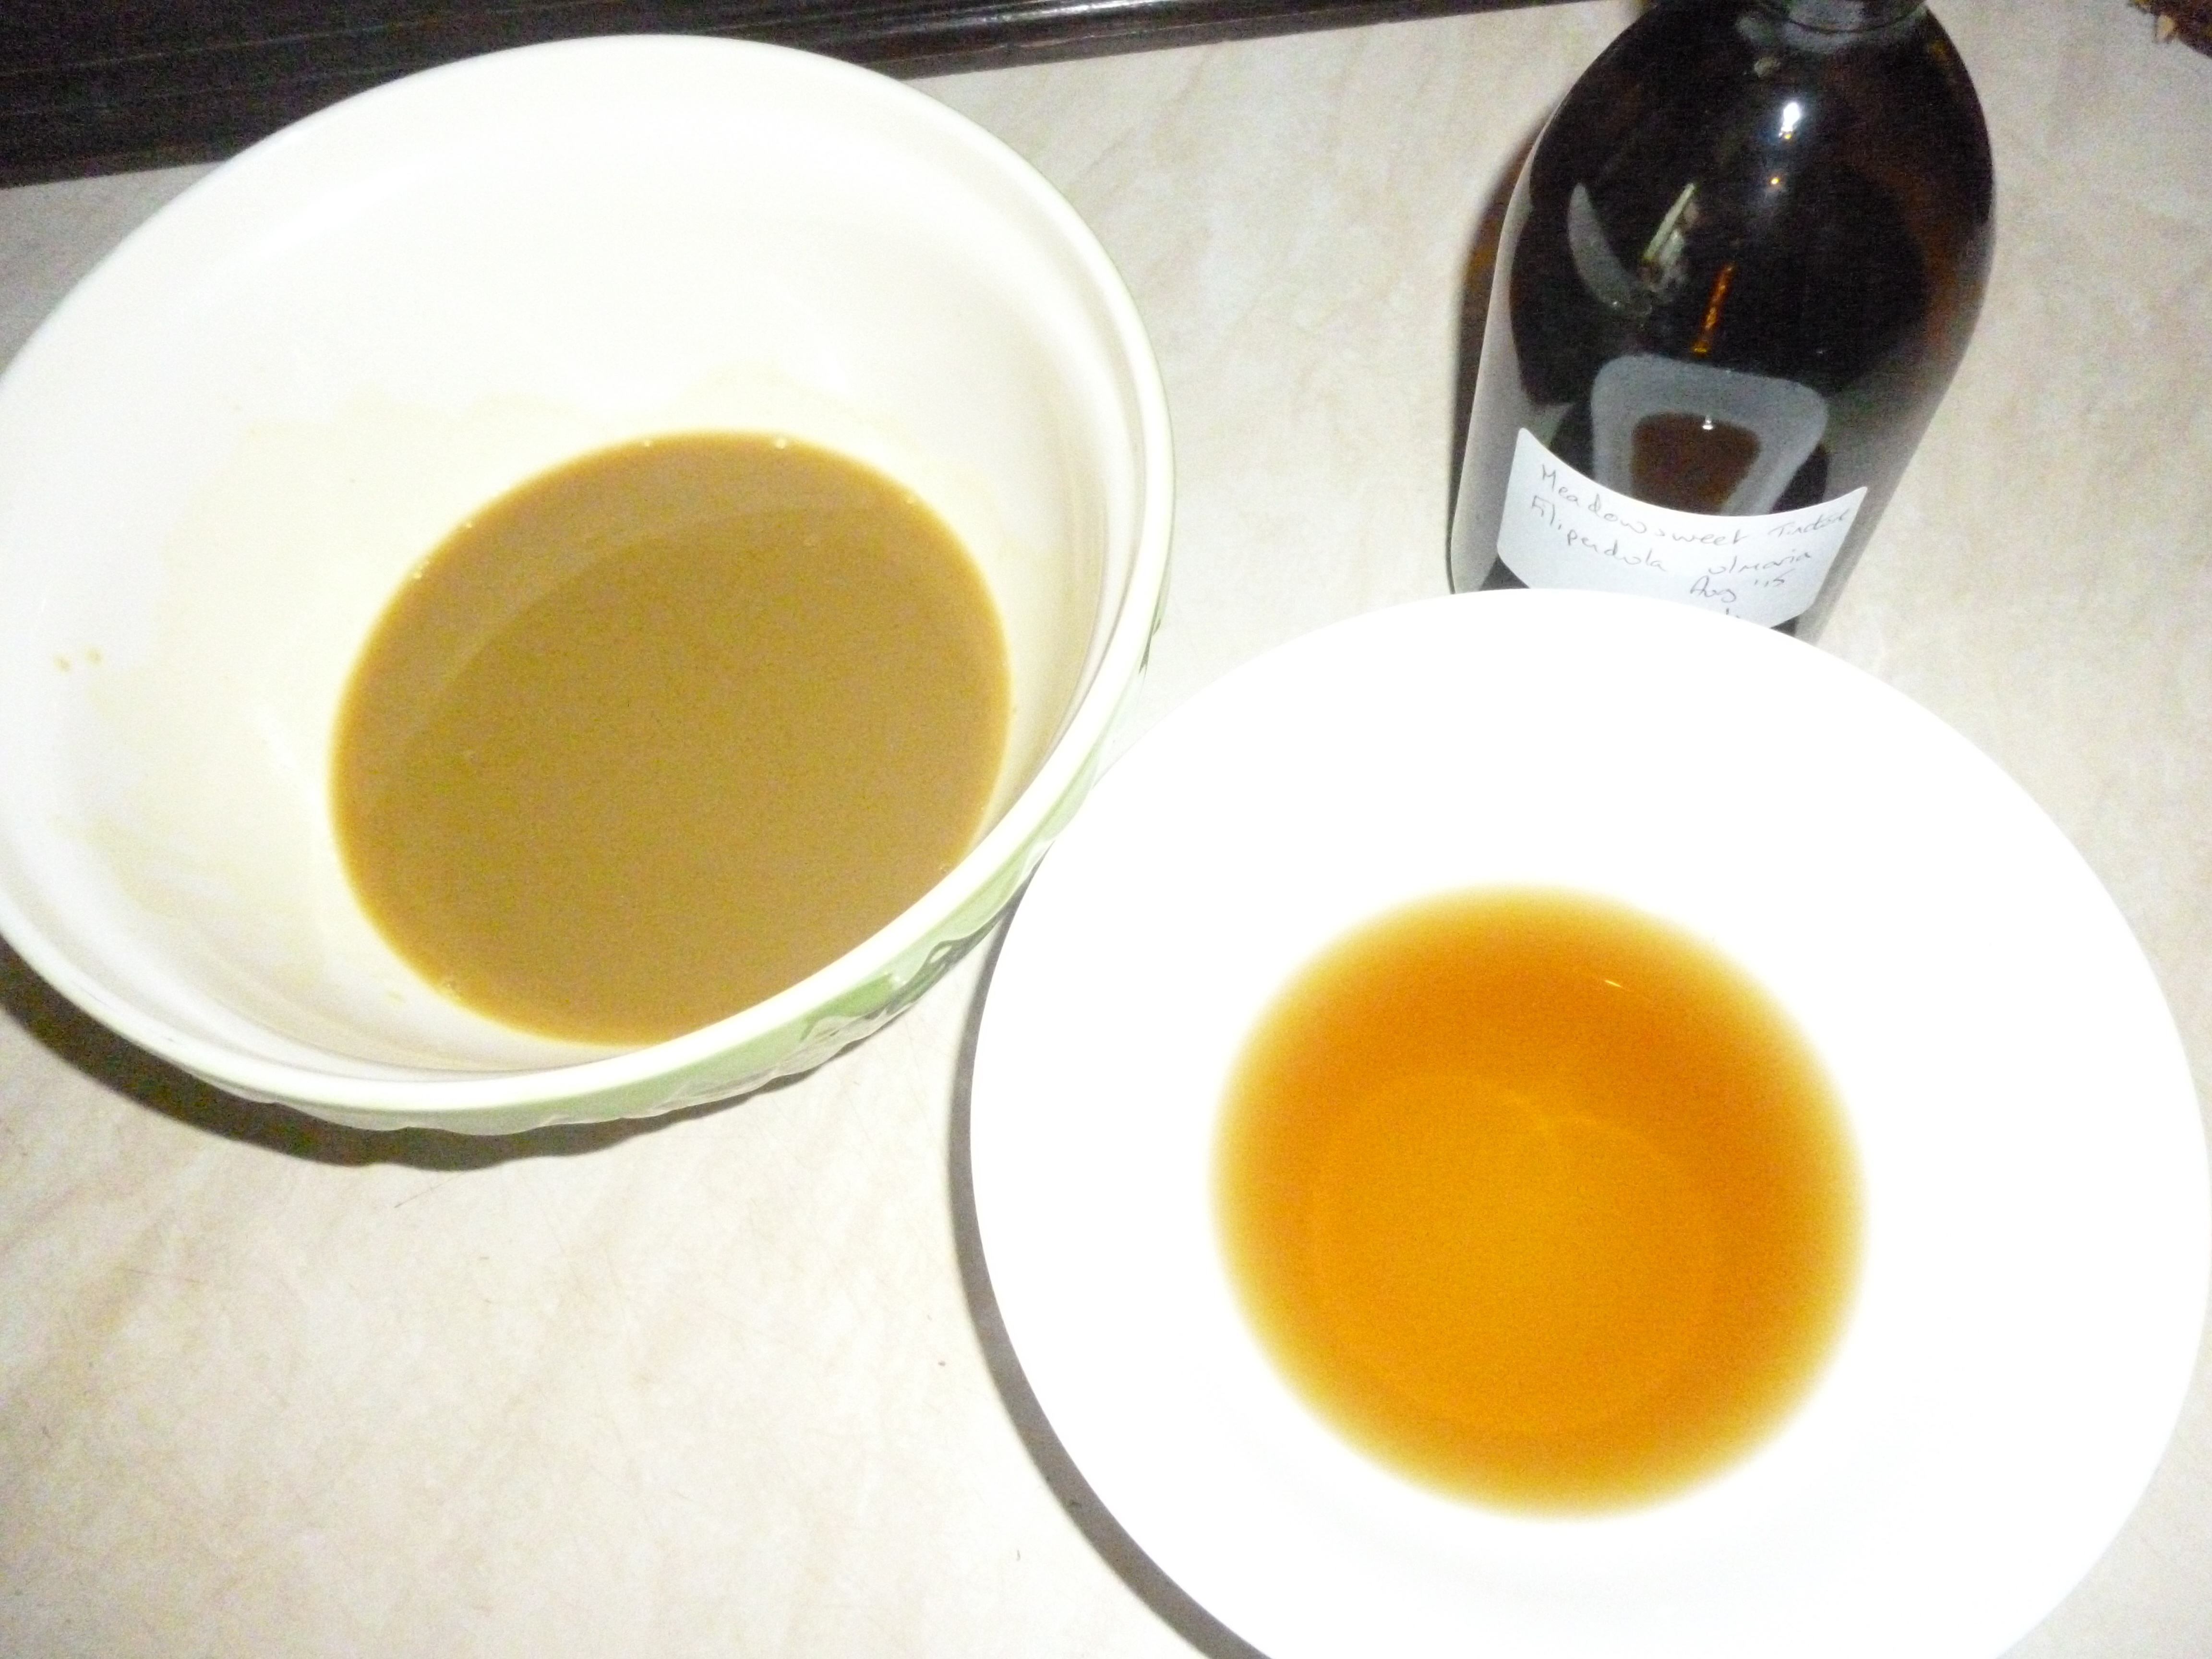
These crystals weren’t quite pure enough for my liking, so I added more water, warmed it until the crystals dissolved, then filtered the whole lot through coffee filter paper. Back onto the hob went the resulting liquid, to be evaporated off again. I ended up repeating this twice until the resulting crystals were as pale and fine as possible. The problem I ran into then was how to go about removing the crystals from the pan so they could be added to the tincture, but that, I think, is a problem to solve next time I do this. This time I let the pan go completely cold, then measured out and added 200mls of the meadowsweet tincture made and pressed a couple of days beforehand. I stirred it up thoroughly, scraping as many of the crystals off the bottom as I could, then picked the whole pan up and swirled it clockwise for a few minutes. The resulting liquid, after comparative pictures were taken, was put into an air and water tight jar. That’s the first stage out of the way – the resulting tincture needs to sit in a warm place (my airing cupboard!) for the next two weeks before it undergoes the final stage of the procedure, which will be written up in a couple of weeks time, when I compare the two tinctures finally!
I may try a slightly adapted version of this next time – the water will be distilled using my alembic, for a start – and I may try and include some rune galdr and a few other bits and pieces into the procedure, to make it more in keeping with my way of doing things, as well as picking my days and moon phases a lot more carefully. I’ll report back – watch this space!

I love reading about your practised/experimental (??) alchemy, I know I don’t have the patience myself lol! 😉
This one was definitely experimental – I’m going to have another go though and see if I can get it to turn out better next time! I’ll most likely be blogging about that one as well 😉
Thanks for this write up Ali… spygarics are something I’ve been meaning to experiment with for some time now – it’s an interesting process… and it would be interesting to see what differences you notice in the spygaric tinctures from a medicinal perspective. I’ve never had their use rationalised to me that well though…
If I make any spygarics this year, I’ll be sure not to use a crock; Don’t want anything shattering! Though despite making most of my tinctures with floral waters this summer (alembic), and not being averse to complex processes in my tincture making, it does seem that a lot of work goes into spygarics!
very effective and pratical , i want more about spagyric essence
Interesting! I suppose you, and most readers, know that Thursday is the traditional day of Jupiter.
what a lovely, whimsical way of writing your experience! I will need to pick up the recommended book and try this myself!